
FlightBridge can be activated at any time (during onboarding or afterwards) - even if you have FlightBridge active in your previous system.
- Contact FlightBridge (your dedicated contact or support@flightbridge.com). State your intent to activate the FL3XX integration and ask for the unique company code (3-5 digits) that is used to integrate with FL3XX.
- Insert into Settings →Integrations → FlightBridge:
- FlightBridge Company Code
- FlightBridge Web Url, which is https://www.flightbridge.com for all users
Once you have completed this step, your FlightBridge settings will resemble the screenshot below.
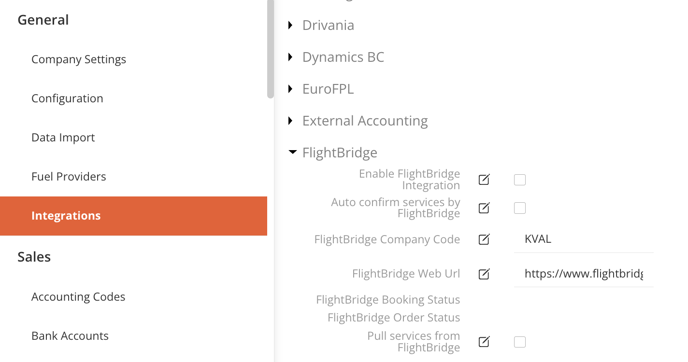
- When ready to fully activate, check box "Enable FlightBridge Integration" in Settings.
- (Optional) To accurately map your crew in FlightBridge, you can export a CSV file containing the necessary IDs and share it with the FlightBridge team. To generate this file, navigate to Reports → Admin → Export Persons, then select all crew roles. The report will include multiple columns, but you only need to keep the ID, Name, Middle Name, and Surname.
You can now use the integration (and manage the other settings available) per this guide: FlightBridge!